How to Build a Kitchen Island?

If you’re looking to add a touch of luxury to your kitchen, why not build a kitchen island? A kitchen island is a great way to add extra counter space and storage, and it can also be used as a bar or breakfast nook. Plus, if you build your own kitchen island, you can customize it to fit your exact needs.
- Decide on the size and shape of your kitchen island
- It should be proportional to the size of your kitchen and the amount of space you have available
- Choose a material for your island top
- It should be durable and easy to clean
- Popular materials include granite, quartz, butcher block, or laminate countertops
- Select a base material for your island
- Common choices include wood, metal, or wicker/rattan
- Choose any additional features you would like for your island, such as cabinets, drawers, shelving, or an extended countertop for extra prep space
- Assemble your materials and tools needed for construction (saw, drill, screws/nails, etc)
- If you are not comfortable doing this yourself, hire a professional contractor to do it for you
How to Make a Kitchen Island Out of Base Cabinets?
If you’re looking for a way to add more counter space and storage to your kitchen, a kitchen island is a great option. And if you’re on a budget, you can create one yourself using base cabinets. With some planning and elbow grease, you can transform a few base cabinets into a functional and stylish kitchen island.
Here’s how to do it:
1. Start by measuring the area where you want to place your kitchen island. Then, head to your local home improvement store or cabinetmaker to purchase base cabinets that will fit in that space.
You’ll need at least two cabinets for this project.
2. Once you have your cabinets, remove the doors and hardware. If the cabinets are new, you may also need to remove the toe kick plates.
3. Next, use wood screws or brackets to attach the cabinets together so they form a rectangular shape. If desired, you can also add additional supports underneath the island for extra stability.
4. Now it’s time to give your DIY kitchen island a makeover!
First, sand down any rough edges on the wood and then apply a coat of primer followed by paint or stain of your choice. Be sure to let each layer dry completely before moving on to the next step. 5., Add handles or knobs to the front of each cabinet door (if desired) and then reattach the doors using hinges .
Finally, add any other finishing touches like trim molding around the edges or decorative feet at the bottom corners . If desired ,you could even install lighting underneath 6thecountertop edge for added ambiance . viola!
You now have a beautiful and functional kitchen island that didn’t cost an arm and a leg .
How to Build a Kitchen Island With Seating?
A kitchen island with seating can be a great addition to any kitchen, large or small. It allows you to have more counter space for food preparation and also provides a place for people to sit and eat. If you are thinking about adding an island to your kitchen, here are some tips on how to build one with seating:
1. Decide on the size of your island. This will depend on the size of your kitchen and how much seating you want. It is important to leave enough room around the perimeter of the island so that people can move around easily.
2. Choose a material for your island top. A popular option is granite, but you could also use butcher block, tile or laminate.
3. Choose a base material for your island. Wood is a classic choice, but you could also use metal or plastic.
4. Assemble your materials and tools. You will need saws, screws, sandpaper and other supplies depending on the materials you have chosen.
.5 。 Cut the lumber or other materials to size according to your plans..
6 .Assemble the pieces of your island base using screws or nails..
7 。 Attach the top surface to the base.
.8 。Add any final touches such as trim molding or handles..
9 。 Enjoy your new kitchen island with plenty of space for food prep and dining!
How to Make a Cheap Kitchen Island?
If you’re like most people, the kitchen is one of the busiest rooms in your home. It’s also one of the most expensive to remodel. But there are ways to get a beautiful new kitchen without spending a fortune.
One way is to create a kitchen island. A kitchen island can provide extra counter space, storage, and even seating. And best of all, you can usually build one for less than $500!
Here’s how: First, decide where you want your island to go. If your kitchen is small, you may want to consider placing it in a corner.
This will give you more floor space and make your kitchen feel larger. Next, measure the area where your island will go. You’ll need enough space for it to comfortably fit, as well as any chairs or stools that will go with it.
Once you have your measurements, head to your local home improvement store or lumberyard and purchase the necessary supplies. Now it’s time to start building! If you’re not handy with tools, don’t worry – this project is relatively simple and straightforward.
Just be sure to read all instructions carefully before beginning. Most islands are made using basic carpentry skills and require only basic power tools (drill, saw). Once your island is built, it’s time to add the finishing touches!
Paint or stain it whatever color compliments your existing cabinets and counters; add some decorative hardware; throw on a couple of bar stools or chairs – and voila! You’ve just created a beautiful new focal point for your kitchen – and saved yourself thousands of dollars in the process!
How to Build a Kitchen Island With Butcher Block Top?
One of the most popular trends in kitchen design is the use of a butcher block top on a kitchen island. Butcher block tops are not only beautiful, but they are also extremely functional. If you’re considering adding a butcher block top to your kitchen island, here’s what you need to know about how to build one yourself.
The first step is to choose the right wood for your project. The most popular option is maple, but other hardwoods like oak and cherry can also be used. You’ll want to select boards that are at least 1-1/2 inches thick so that they can stand up to heavy use.
Once you’ve chosen your wood, cut it into strips that are about 4 inches wide using a table saw or circular saw. Next, it’s time to create the frame for your butcher block top. This can be done by attaching two strips of wood together with screws or nails and then attaching them to the sides of your island with more screws or nails.
Be sure to pre- drill holes for your screws so that they don’t split the wood. Now it’s time to start building up the layers of your butcher block top. Begin by spreading out some glue on one strip of wood and then placing another strip on top, making sure that the grain of each piece runs in opposite directions.
Continue this process until all strips have been used and you have a solid piece of lumber that is about 1-1/2 inches thick. Allow the glue to dry overnight before proceeding to the next step. Once the glue has dried, it’s time to sand down your butcher block top so that it’s smooth and even.
Start with coarse sandpaper (60 grit) and work your way up through finer grits until you’ve reached 220 grit paper.
How to Build With Sink?
A kitchen island with a sink is a great addition to any kitchen. It can provide extra prep space and storage, and it can also be a great place to entertain guests. If you’re thinking about adding a kitchen island with a sink to your home, here are some tips to help you get started.
1. Decide on the location of your island. The first step is to decide where you want your island to go. It’s important to consider the layout of your kitchen and how the island will fit in.
You’ll also need to make sure there’s enough space around the island for walking and moving around freely. 2. Choose the right size for your needs. Once you’ve decided on the perfect location for your new kitchen island, it’s time to start thinking about size.
How large do you want your island to be? Will it be used for food prep only, or do you want it to be large enough for dining as well? Keep in mind that an island can take up a fair amount of space, so make sure you have plenty of room before making any final decisions.
3. Select the right materials. When it comes time to select materials for your new kitchen island, there are many options available including wood, granite, stainless steel, and more. Take some time to think about what look and feel you’re going for in your kitchen before making any final decisions on materials.
4 Sink installation considerations . Now that everything else is selected out , one of most important aspects left is deciding which type of sink will best suit both form and function in regards to your new kitchen Island . There are many different types available on market , from traditional drop-in sinks to more modern under mount varieties .
Think about what kind of use the sink will get – if it will see a lot of action , then durability should be key consideration . If style is more important , then there are many different colors , finishes , and materials available that can give Island unique look all its own . 5 Faucet installation considerations After deciding on perfect sink for new Kitchen Island next step is selecting faucet set up that works both functionally within given space while still complementing design goals established earlier steps 1-4 While wide range styles means almost limitless possibilities exists choosing faucet (or faucets depending number sinks being installed ) require careful planning avoid overwhelming project budget unnecessarily .
How to Build a Kitchen Island With Slide in Range?
If you’re looking to add a bit more functionality and style to your kitchen, then a kitchen island with a slide-in range is a great option. Not only does it provide extra prep space, but it also gives you the ability to cook without having to leave the room. Plus, who doesn’t love the look of a sleek and stylish island?
Building a kitchen island with a slide-in range is actually pretty easy, and can be done in just a few steps. First, you’ll need to decide on the size and shape of your island. It’s important to make sure that it will be able to comfortably accommodate your range, as well as any other appliances or features you want to include.
Once you have the basic layout figured out, you can start building! To build the actual island, you’ll need some basic carpentry skills. If you’re not confident in your abilities, there’s no shame in hiring someone else to do it for you.
Otherwise, just measure twice and cut once, and soon enough you’ll have yourself a beautiful new kitchen island.
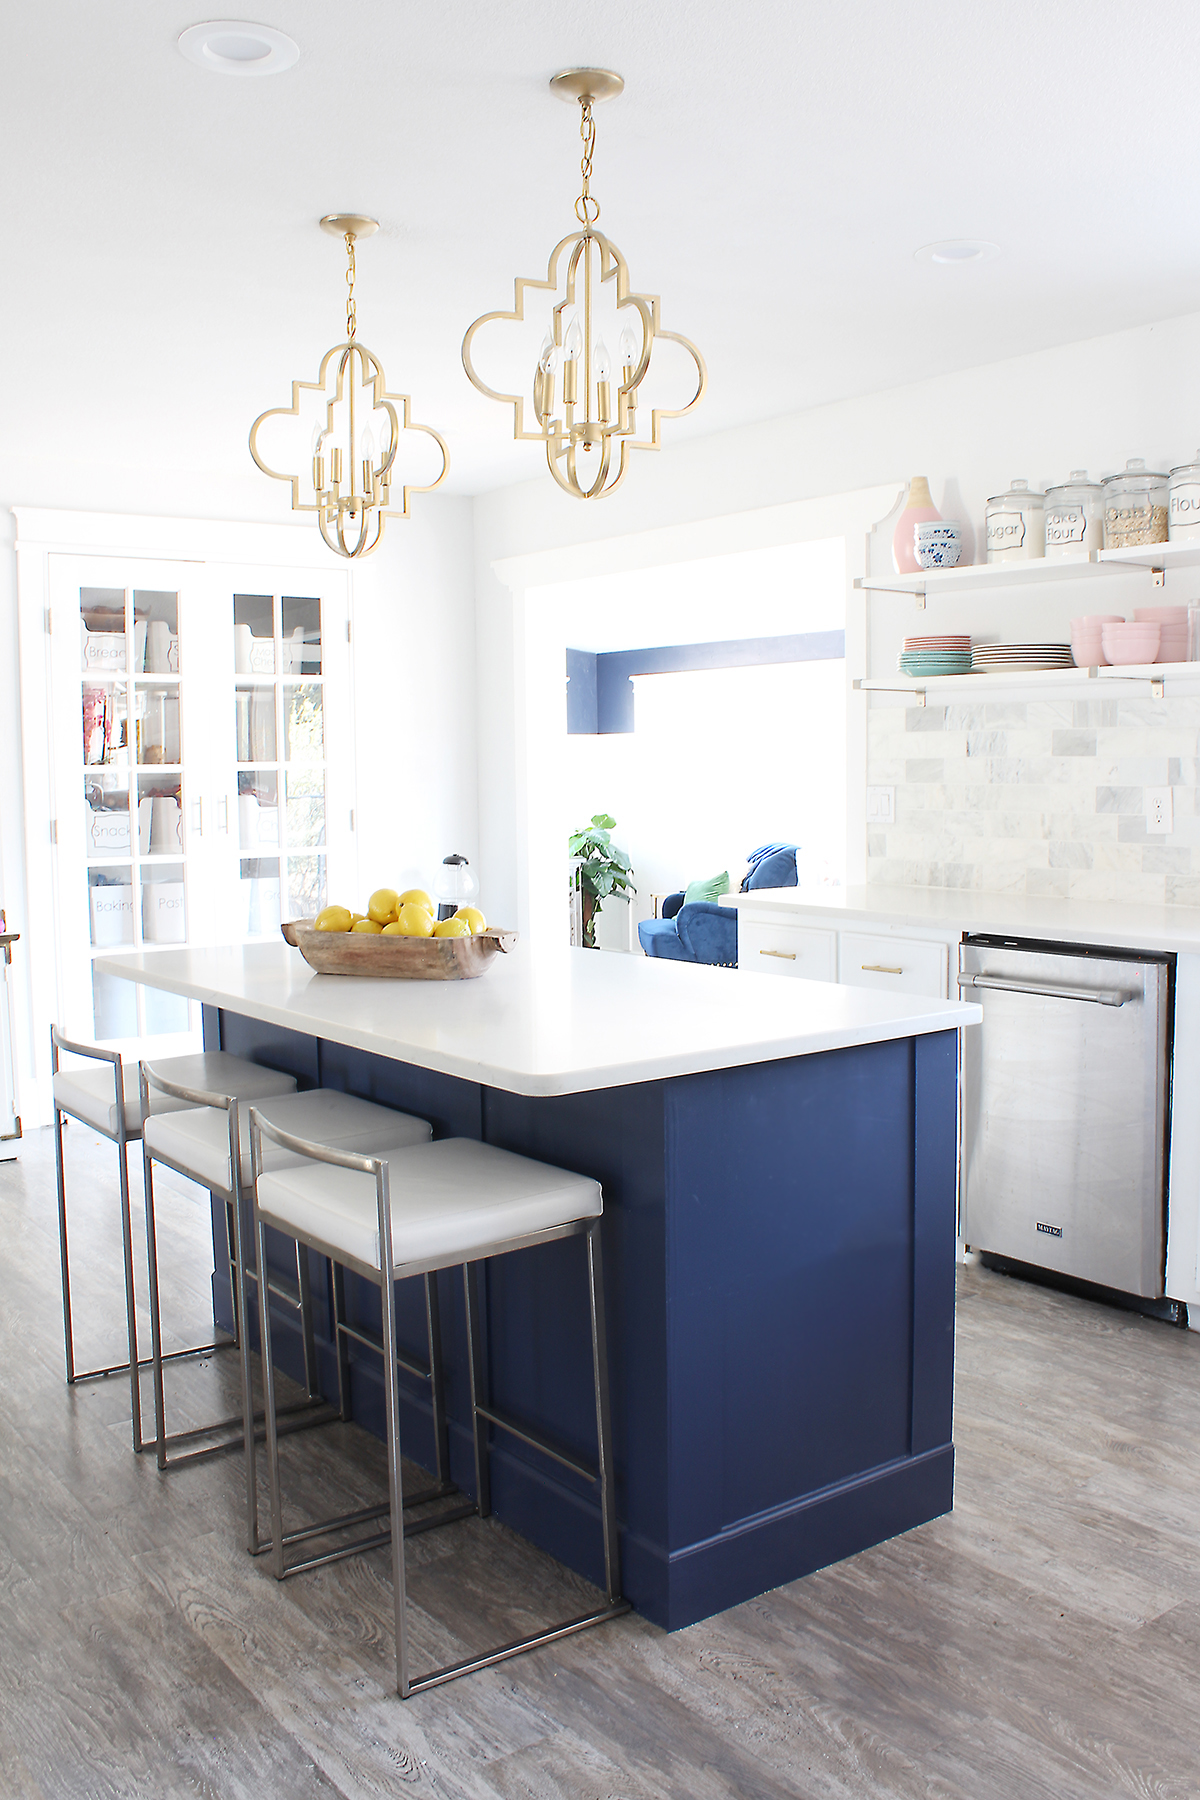
Credit: www.classyclutter.net
Is It Cheaper to Build a Kitchen Island?
When it comes to kitchen islands, there is no definitive answer as to whether it is cheaper to build one or buy one. It really depends on a number of factors, including the size and complexity of the island, the materials you use, and whether you do the work yourself or hire a professional. If you’re handy with tools and have some basic carpentry skills, you may be able to build a simple kitchen island yourself for a fraction of the cost of buying one.
However, if you want a more complex island with features like built-in storage or appliances, it will probably be cheaper to buy an island that’s already been constructed. The material you use for your island can also affect the cost. A basic wood island will be less expensive than one made from stone or stainless steel.
And if you’re looking to save even more money, consider using recycled materials like old cabinets or salvaged countertops. No matter which route you choose, building or buying a kitchen island can be a great way to add extra storage and workspace to your home. Just be sure to do your research and budget accordingly so that you end up with an island that fits both your needs and your wallet.
Can I Build My Own Kitchen Island?
Sure, you could build your own kitchen island — but is it really worth your time and effort? It’s certainly possible to save some money by taking on this project yourself, but unless you’re a true do-it-your selfer, the results may not be up to your standards. There are a few things to consider before deciding whether or not to tackle this project on your own.
First, think about your skill level. If you’re not confident in your ability to measure accurately, cut straight lines or use power tools, then building your own kitchen island is probably not the best idea. Next, take a look at the cost of materials.
Unless you already have a lot of woodworking supplies on hand, you’ll need to purchase everything from lumber to screws and nails. This can get expensive quickly — especially if you need to buy specialty items like cabinet pulls or countertop edging. Finally, consider the time involved in building a kitchen island.
If you’re only planning on spending a few hours working on this project, it’s likely that the results will reflect that rushed effort. But if you’re willing to invest the time needed to do it right, then DIYing your kitchen island might just be worthwhile after all.
How to Make Step by Step?
Assuming you would like a step by step guide on how to create a kitchen island, here are the steps you will need to take:
1. Decide on the location of your island. This is important because you will need to make sure there is enough space for your island as well as easy access to plumbing and electrical outlets.
2. Once you have decided on the location, measure the space so you can purchase the necessary materials.
3. Choose what type of countertop material you would like for your island. There are many different options available including granite, quartz, butcher block, and laminate.
4.Purchase your cabinets or repurpose some old ones if you are looking to save money. Again, there are many different styles and finishes available so choose what fits best with your overall kitchen design.
5. Install your base cabinets following the manufacturer’s instructions or hire a professional if needed.
6. Attach your countertop to the base cabinets using construction adhesive and screws (or nails if desired). Be sure to seal any seams between sections of countertop with caulk or silicone sealant.
7 If adding an overhang or breakfast bar to your island, support it with corbels or brackets attached to the underside of the countertop .
8 Finish off your new kitchen island by adding cabinet hardware, stools, pendant lighting ,and/or other accessories .
How Much Does It Cost to Make Kitchen Island?
If you’re considering adding a kitchen island to your home, you might be wondering how much it will cost. The cost of a kitchen island can vary depending on a number of factors, including the size and materials used. Generally speaking, the average cost of a kitchen island is between $500 and $4,000.
However, if you want a custom-made island or one that’s made from high-end materials, the price could be much higher. The size of your kitchen island is one of the biggest factors that will affect the cost. A small island might only cost a few hundred dollars, while a large custom-made island could easily cost more than $5,000.
The materials you use for your island will also affect the price. A basic wood or laminate island might only cost a few hundred dollars, while an island made with granite countertops could potentially cost several thousand dollars. Finally, if you’re having someone else install your kitchen island (which is generally recommended), that will also add to the overall cost.
Installation costs can range from a few hundred dollars to several thousand depending on the complexity of the job. So how much does it really cost to add a kitchen island? It all depends on your specific circumstances.
But in general, you can expect to spend anywhere from $500 to $5,000 (or more) on this project.
Conclusion
In this blog post, the author gives a step-by-step guide on how to build a kitchen island. They start by measuring the space where the island will go and then cut the boards to size. Next, they assemble the base of the island using wood screws and glue.
Once the base is assembled, they attach the sides and top. Finally, they add any trim or finishes. The whole process should take about a day or two depending on your skill level.